10 Reasons for Teaching the Recorder in Primary Schools, and a First Lesson
By Corinne Hope5 min read
Updated

The recorder has a bad name, mostly because it's often taught too loudly and too fast. Taught well, it's one of the best first instruments a primary school can offer. Here are ten honest reasons for teaching the recorder, then how to start: the first three notes, keeping recorders clean, and keeping the noise bearable.
10 reasons for teaching the recorder
- Every child can have their own. A plastic descant is one of the cheapest instruments you can buy, which matters for hygiene as much as for the budget.
- It fits in a book bag, so children can take it home and practise.
- It doesn't need tuning. You hand them out and start.
- The fingers match the stave. As the notes go down the stave, another finger goes down, so reading notation starts to make sense.
- It plays tunes. Children learn about pitch by playing melodies they can already sing.
- It teaches breath control, which singers work on too.
- The whole class can learn together, at the same pace, with one teacher.
- A non-specialist can stay a step ahead. You can learn B, A and G in an evening.
- It's a real instrument with real music. Handel, Telemann and Vivaldi wrote music for it, and there are professional recorder players today.
- It's a good start for other instruments. B, A and G are fingered in much the same way on the flute and the saxophone, and reading music carries over to anything.
The honest downsides: it squeaks when children blow too hard, and the low notes are hard for small fingers to cover. Both get better when you teach it slowly.
In England, the National Plan for Music Education (2022) names recorders among the simple class instruments children should explore in the early years and KS1, before instruments such as the flute, violin or djembe in KS2.
Buying recorders
Buy plastic descant recorders with baroque fingering (sometimes labelled English fingering), the standard system and the one most schools teach. German fingering recorders look almost the same, but some notes are fingered differently, and a mixed class set causes real confusion. Check the description before you order. To sort out the ones already in your cupboard, look at the fourth and fifth holes down the front: on a baroque recorder the fourth is smaller than the fifth, and on a German one it's the other way round.
Hygiene and care
- One recorder per child, never shared. Put the child's name on it and keep it in its own bag.
- After each lesson, tap out the water, wipe the mouthpiece and let it dry before it goes back in its bag.
- Plastic recorders can be washed. Every half term, or after a cold has gone round the class, take them apart, wash them in warm soapy water, rinse them well and let them air-dry before putting them back together.
- Never use solvents or harsh cleaning products, which can damage the plastic.
- If a recorder suddenly sounds wrong, check the pieces are pushed together with the holes in a straight line.
The first lesson: B, A and G (40 minutes)
- Before anyone blows, teach three positions: rest (recorder on your lap), ready (tip of the mouthpiece resting on your chin) and play. Practise moving between them on your signal (5 minutes).
- Show the grip: left hand at the top, thumb covering the hole at the back, using the soft pads of the fingers rather than the tips. The right hand goes at the bottom, its thumb behind to hold the recorder steady (5 minutes).
- Teach B: left thumb and first finger. Say: "Lips round the mouthpiece, not teeth. Say 'doo' into it, as gently as if you were cooling hot soup." Everyone plays four Bs together, then stops (5 minutes).
- Add A (second finger) and G (third finger). Play each as an echo: you play four beats, they copy (10 minutes).
- Play "Hot Cross Buns", which uses only B, A and G. Then try the first line of "Au Clair de la Lune", which uses the same three notes (10 minutes).
- Back to rest, and put the recorders away dry (5 minutes).
For KS1, a shorter version works: rest, ready and play, then B and A only, with echo games. For KS2, most classes can manage B, A and G in the first lesson. Then add C and D at the top before tackling the low notes, which need every hole sealed and the gentlest breath.
Keeping the noise bearable
Thirty recorders played at once, each slightly differently, is hard on everyone. A few habits make a big difference.
- Use silent fingering. Children practise the finger pattern with the recorder on their chin, without blowing, then play it once. A good part of any recorder lesson can be silent.
- Play in turns: one table plays while the others finger along silently, then swap.
- Squeaks usually mean blowing too hard or a hole not quite covered. Say "half the breath" before anything else, then check thumbs.
- Use a stop signal that isn't your voice, such as raising your own recorder, and expect rest position straight away. Our post on classroom management in music lessons has more on signals and routines.
- Keep it short. Twenty minutes of focused playing beats forty of fidgety blowing.
Notes on the wall
Children forget fingerings between lessons, so put them where they can see them. Our notes on the recorder display chart puts every note on one printable chart, and the recorder components worksheet is a good task for anyone who finishes early. Both are for members; if you're not one, our free sample pack has 25 resources to try first.
If you're choosing between instruments for a class set, our guide to teaching ukulele in primary schools covers the other common option. Otherwise, start with B this week. If every child can play four gentle Bs together and stop on your signal, you've done the hardest part.
Resources to try
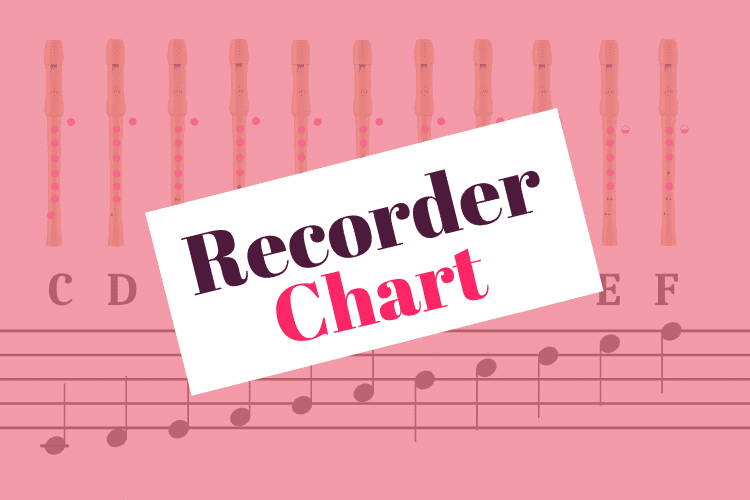
Notes On The Recorder: Display Chart
Displays · Ages 5 to 11
Short of wall space? Here are all the notes on the recorder you'll need, in one chart that's ready to print.
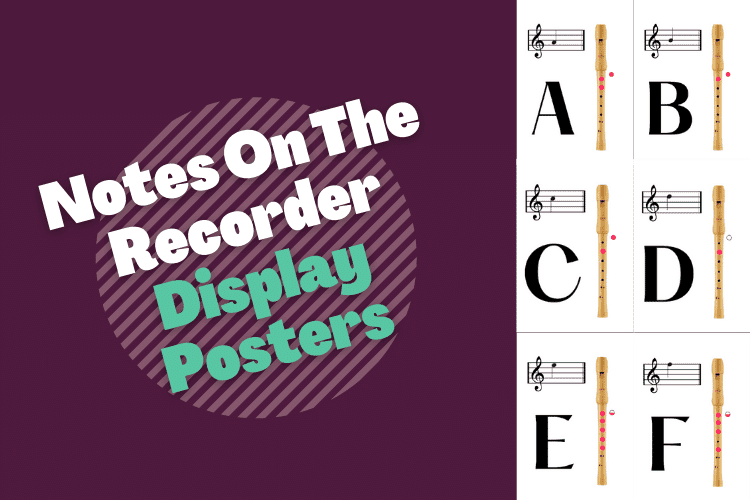
Notes On The Recorder: Display Posters
Displays · Ages 5 to 11
Find your class forgetting how to play particular notes on the recorder? Why not try including these posters on your music display?
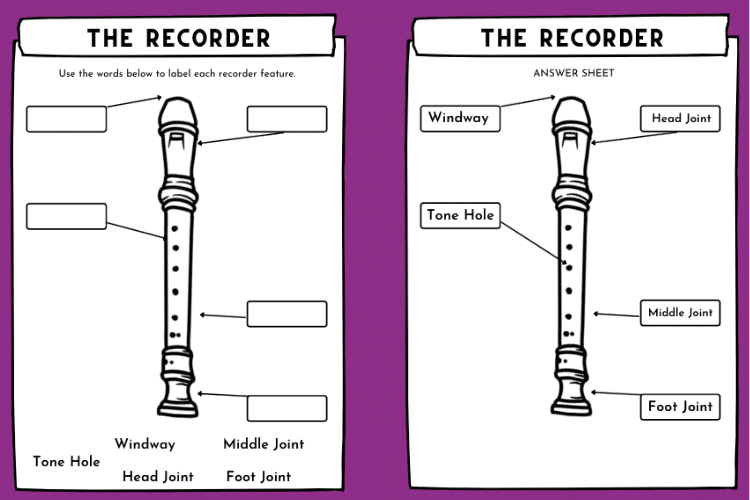
The Recorder Components Worksheet
Worksheets · Ages 5 to 11
Learn about recorder components with this easy-to-use worksheet. Match the label with the correct feature on the recorder and see how many you can get right!
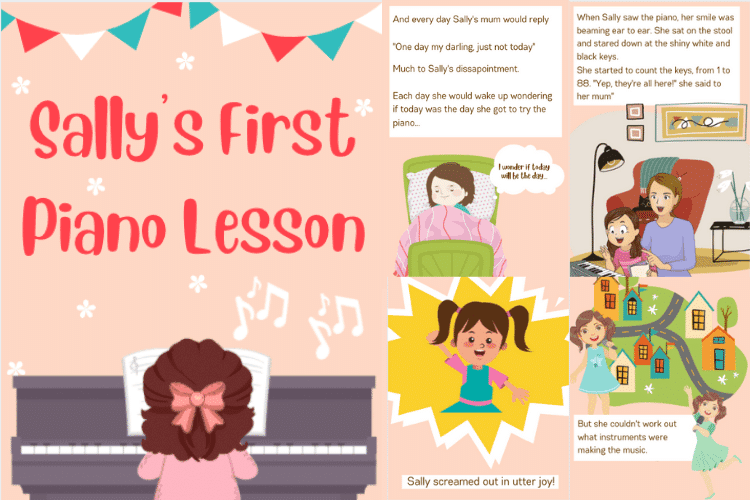
Fun KS1 Music Lesson: Sally’s First Piano Lesson
Worksheets · Ages 0 to 6
Sally is desperate to start learning the piano, but will she get too? Use this KS1 music lesson to encourage your students to try new instruments, learn facts about the piano and how playing music can boost confidence!