Using GarageBand in Music Lessons: A First iPad Lesson, Step by Step
By Corinne Hope5 min read
Updated
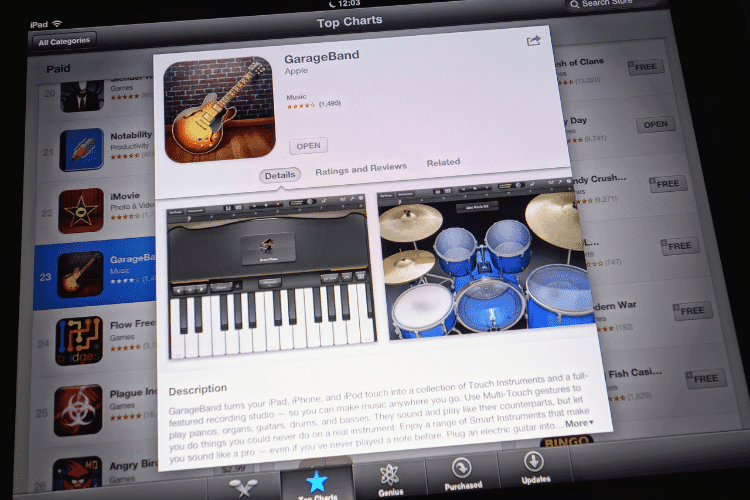
Using GarageBand in music lessons is easier than it looks, and it's free on iPad. The trick for a first lesson is to skip most of it. Live Loops, a grid of short loops that always play in time, lets children make something that sounds good within minutes, and recording their own voices makes it theirs. Below is a first lesson for KS2, step by step, then how to change it for KS1. The feature names come from Apple's own GarageBand for iPad guide, so they should match what's on your screen (older iPads that can't update may look slightly different).
Before the lesson
- Make sure GarageBand is installed and updated on every iPad, then open it once on each one so the first-launch screens are out of the way.
- Open Live Loops yourself, pick one template, and note its name. Everyone uses the same one in the first lesson.
- Get headphones and splitters ready, one set per iPad, and decide your stop signal.
- Plan how the class will see your screen: mirror your iPad to the board through an Apple TV (the sound then plays through the Apple TV only) or hold it under a visualiser.
If you get stuck while planning, tap the Info button in the top right corner: GarageBand lays coaching tips over the instrument or Tracks view you have open.
Using GarageBand in music lessons: a first lesson, step by step
This takes about 50 minutes, with children working in pairs.
- Show the grid (5 minutes). In the Sound browser, tap Live Loops, then tap your template. Say: 'Every square is a cell, a short loop. Each row is one instrument, and only one cell in a row plays at a time. Whatever you tap, it stays in time.' Tap a few cells to start and stop them, tap the trigger below a column to start the whole column, then tap the trigger below an empty column to stop everything.
- Explore with a limit (10 minutes). Pairs start a new song (in My Songs, tap the Add Song button in the top right) and open the same template. The task: 'Build a groove from three cells, each from a different row. Be ready to play it.' One child taps, the other decides, and they swap halfway.
- Record your voices (15 minutes). Tap the Add Row button below the track headers. Tap a cell in the new, empty row, tap Instruments, and choose the Audio Recorder. Back in the grid (tap the Live Loops button), tap that empty cell, then tap Record in the menu that pops up. Tap the Record button in the control bar, say or sing a short chant, and tap Record again to stop. Before you leave the Audio Recorder, show them its Fun view: turning the dial changes the sound of the recording, which children will want to try. Then tap the Live Loops button to go back.
- Perform it (10 minutes). Each pair plans a beginning, a middle and an end: perhaps drums alone, then everything, then the voices alone. Tap the Record button in the control bar, play the cells, and tap the Stop button when you've finished. Tap the Tracks button to see the performance laid out.
- Share (10 minutes). Three or four pairs play theirs through the speaker. Ask the class: 'What changed between the beginning and the middle?' and 'Which sound came in last?' Tap the My Songs button to save before anything is closed.
For the chant, a four-beat pattern made from words about your current topic works well; there's a way to write one in our post on composing and improvising in primary. To keep a copy of the best pieces, open the My Songs browser, touch and hold a song, tap Share, then Song, and save it to Files.
Changing it for KS1 and KS2
For Years 1 and 2, keep the first lesson on the board with you driving, then let small groups have a go with an adult. Smart Drums is the best starting point: tap the Browser button, swipe to Drums, then tap Smart Drums. Children drag drums into the grid. The higher a drum sits, the louder it plays; the further right, the busier its part. Ask: 'Where should the drum go to make it quiet and simple?' The Dice button makes a groove at random, and Reset clears the grid. Then record the class saying one line of a nursery rhyme in the Audio Recorder and play with the Fun view dial.
In Years 5 and 6, add a real structure: use the columns as sections, so column one is the introduction and column two the chorus. Try Drummer from the Sound browser, a virtual drummer you steer by dragging a yellow puck: up or down for louder or softer, left or right for simpler or more complex. Or add chords with the chord strips on the Keyboard or Guitar: turn the Autoplay knob and one tap plays a whole pattern.
What goes wrong, and what to do about it
Recording picks up the whole room. Take turns: one pair records while everyone else stays silent for ten seconds, or send pairs to record in a corridor with an adult. Apple also warns against plugging in or unplugging headphones or chargers mid-recording, and suggests Airplane Mode if alerts keep interrupting (but not on the iPad you're mirroring, which needs Wi-Fi).
Everything plays at once and it's a wall of noise. That's why the three-cell limit is there; hold them to it. Some children will only want to press the Dice button or try every loop. Let them for a minute, then ask them to choose and say why.
Work disappears. Tell the class never to delete a song, and save to My Songs before the end. And the lesson overruns, because it always wants to. Stop the making at 40 minutes, because the sharing is where most of the learning happens.
Our free Three Little Birds on GarageBand PowerPoint makes a good second lesson, building a whole song step by step. Making a Song in GarageBand takes composing further, and the GarageBand Reference Guide is handy to keep with the iPads. For headphones, splitters and the rest of the kit, see music technology worth buying for your school.
Resources to try
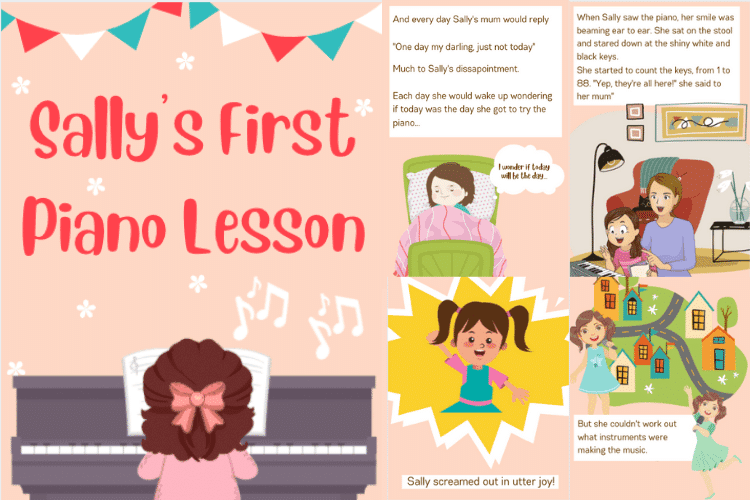
Fun KS1 Music Lesson: Sally’s First Piano Lesson
Worksheets · Ages 0 to 6
Sally is desperate to start learning the piano, but will she get too? Use this KS1 music lesson to encourage your students to try new instruments, learn facts about the piano and how playing music can boost confidence!
 Free
Three Little Birds On Garageband: PowerPoint Lesson
PowerPoint · Ages 5 to 11
Make a song on Garageband simpler with this step-by-step powerpoint presentation showing you how to recreate Three Little Birds by Bob Marley.
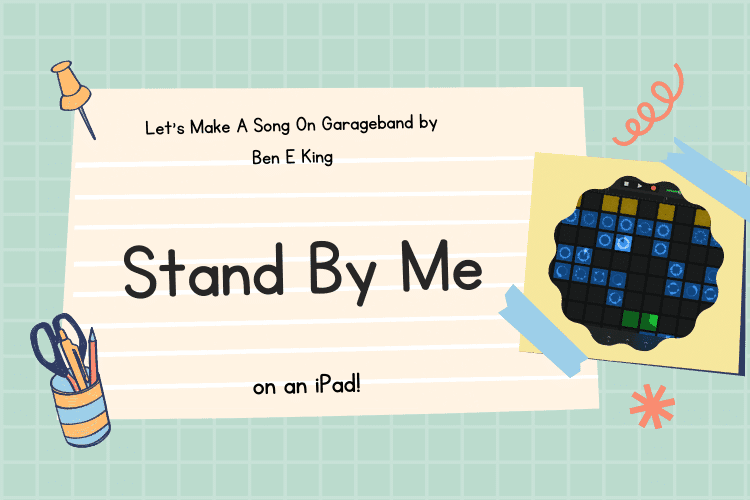
Stand By Me In A Garageband Lesson: PowerPoint
PowerPoint · Ages 7 to 11
Make a song on Garageband simpler with this step-by-step powerpoint presentation showing you how to recreate Stand By Me by Ben E King.
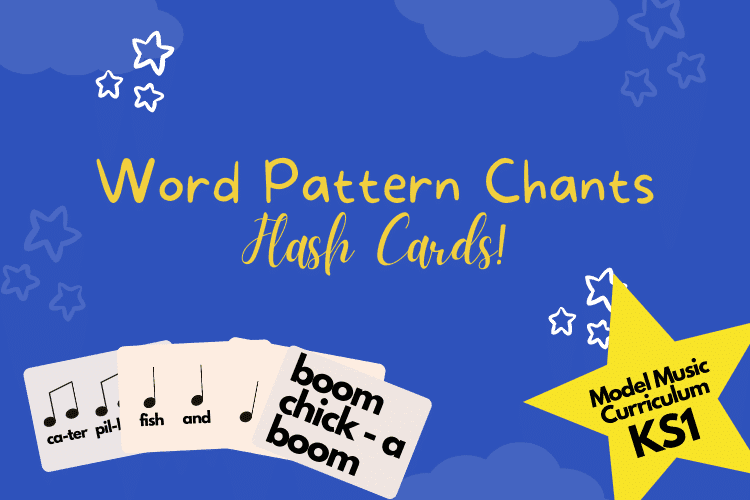
Musical Chants Flashcards: Fun Music Curriculum Resources KS1
Worksheets · Ages 0 to 7
Based on the KS1 Model Music Curriculum, these flashcards help your children practice the word pattern chants. Ready made for you to cut out and use exactly as you would like to in your classroom.